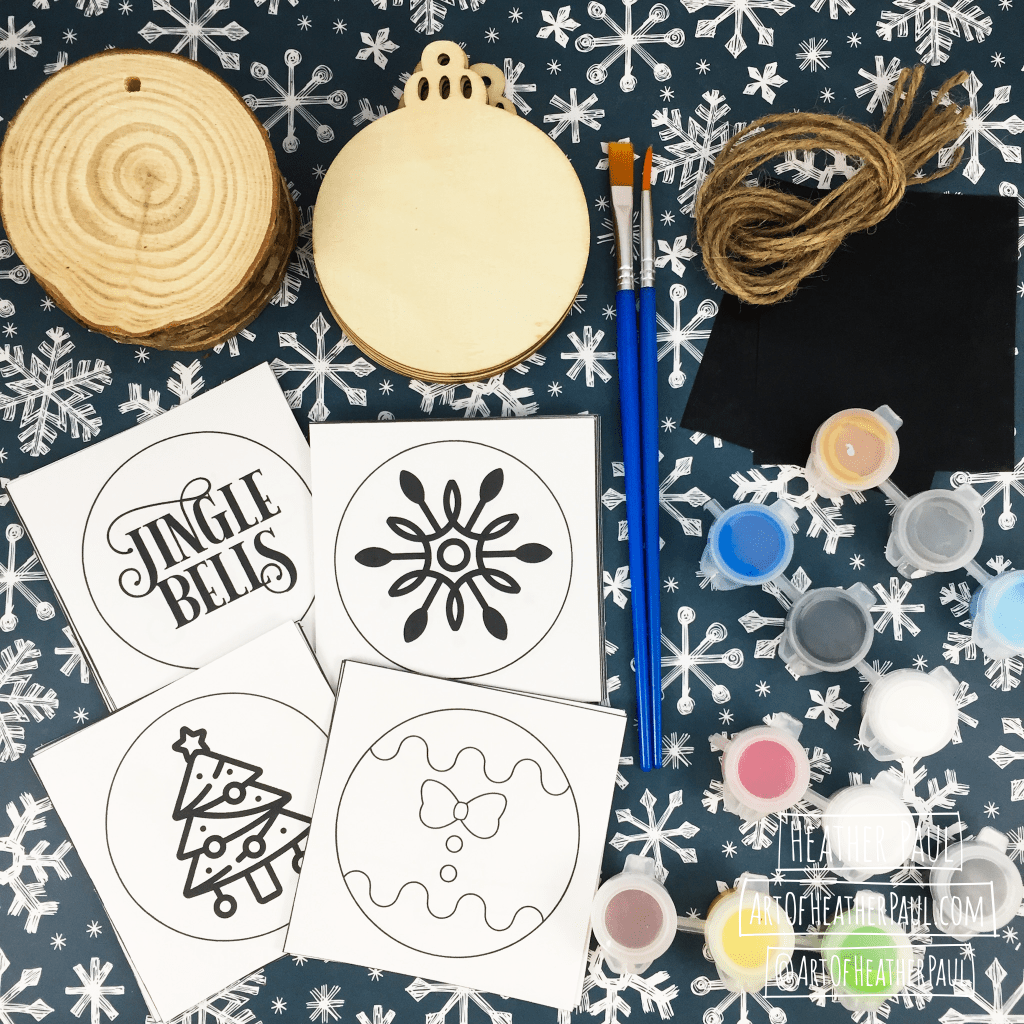
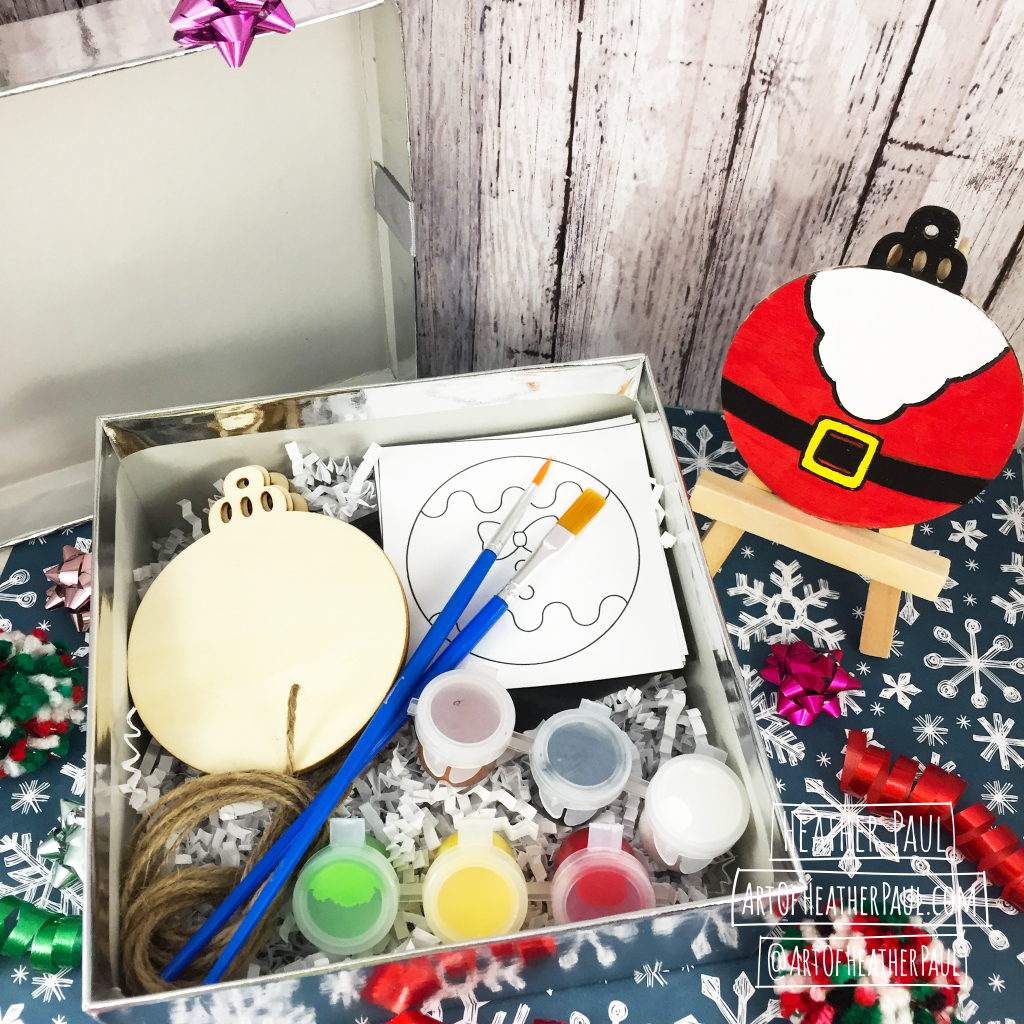
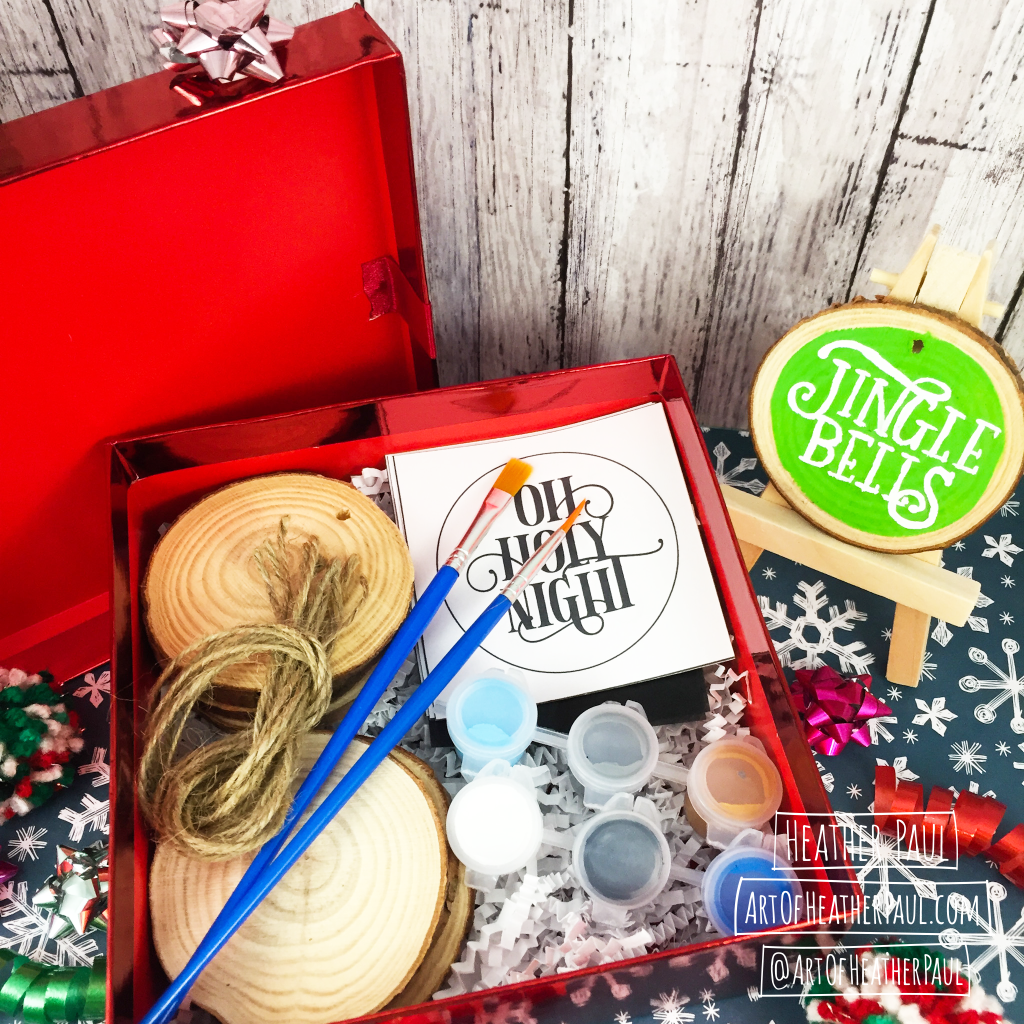
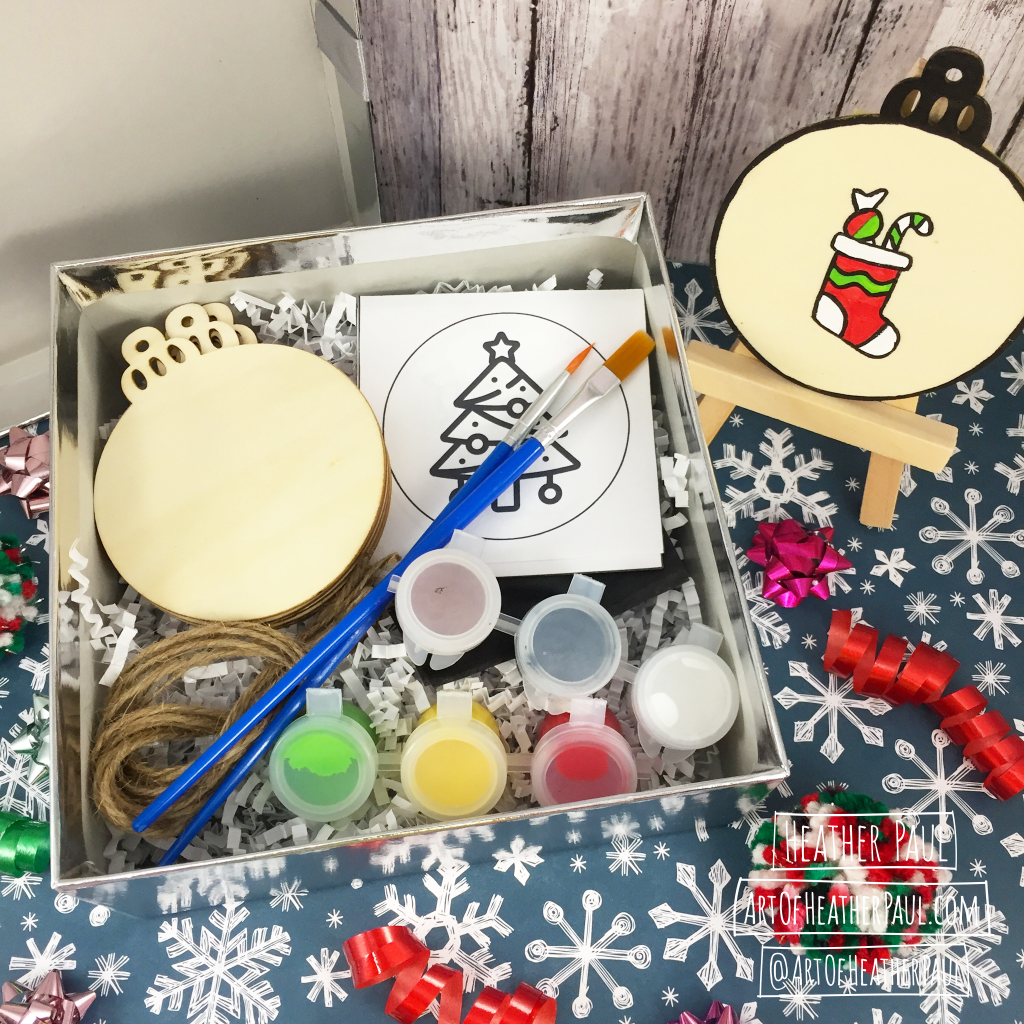
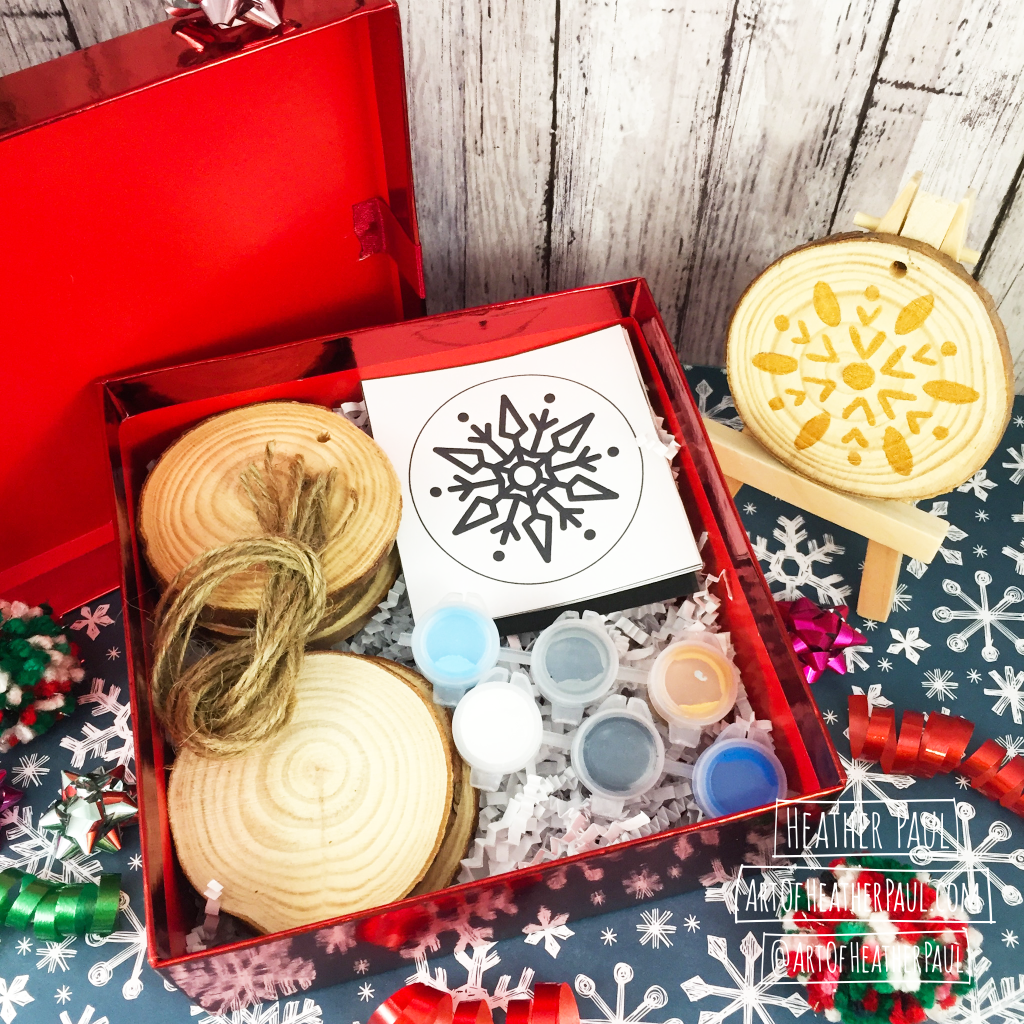
After some hinting and lots of behind the scenes work, my DIY Holiday Ornament Kits are (at long last) finalized! I have designed four different options for the kit. Each kit will be personalized to order: you’ll choose your ornament style and design option. Each kit will contain six wooden ornaments, two paintbrushes, six paint pods, two carbon paper sheets, stencils for six designs, and twine for displaying your finished ornaments (additional ornaments, paintbrushes, and paint pods will be an additional charge).
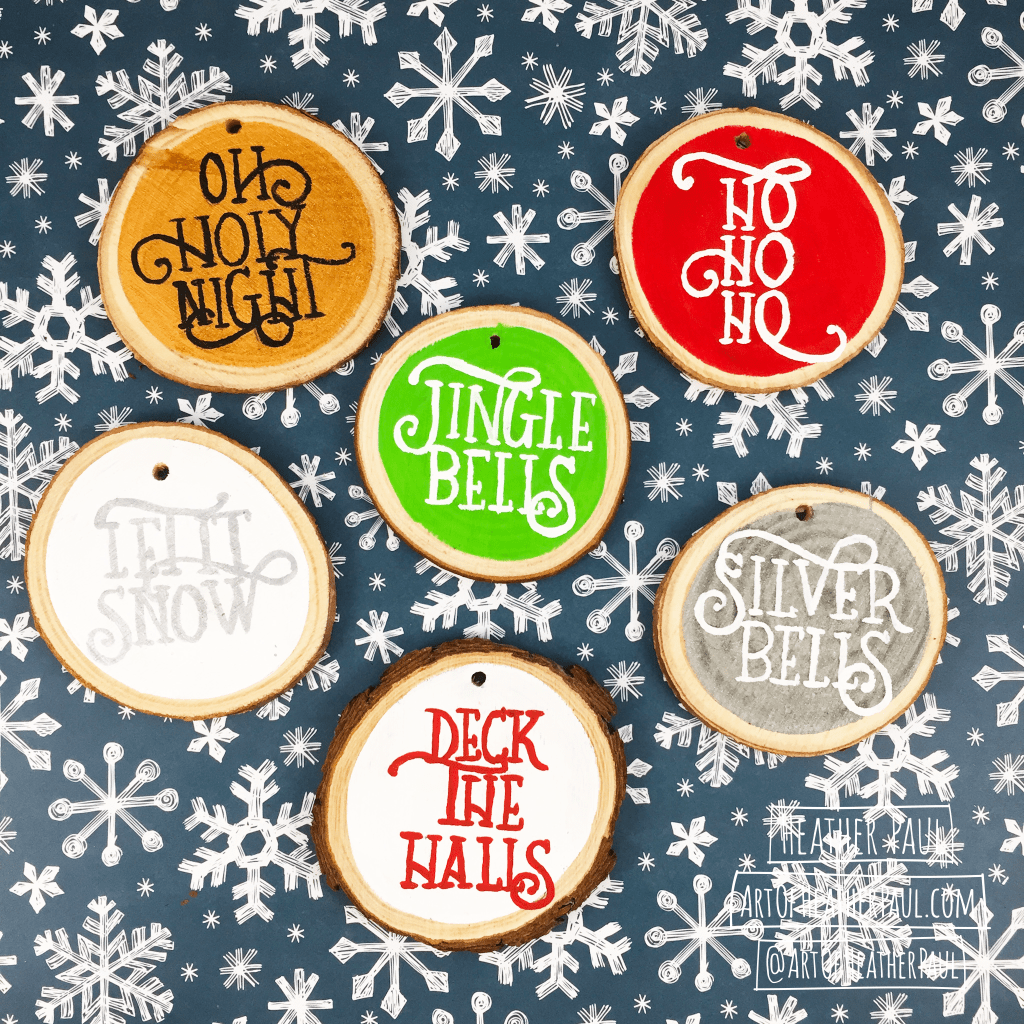
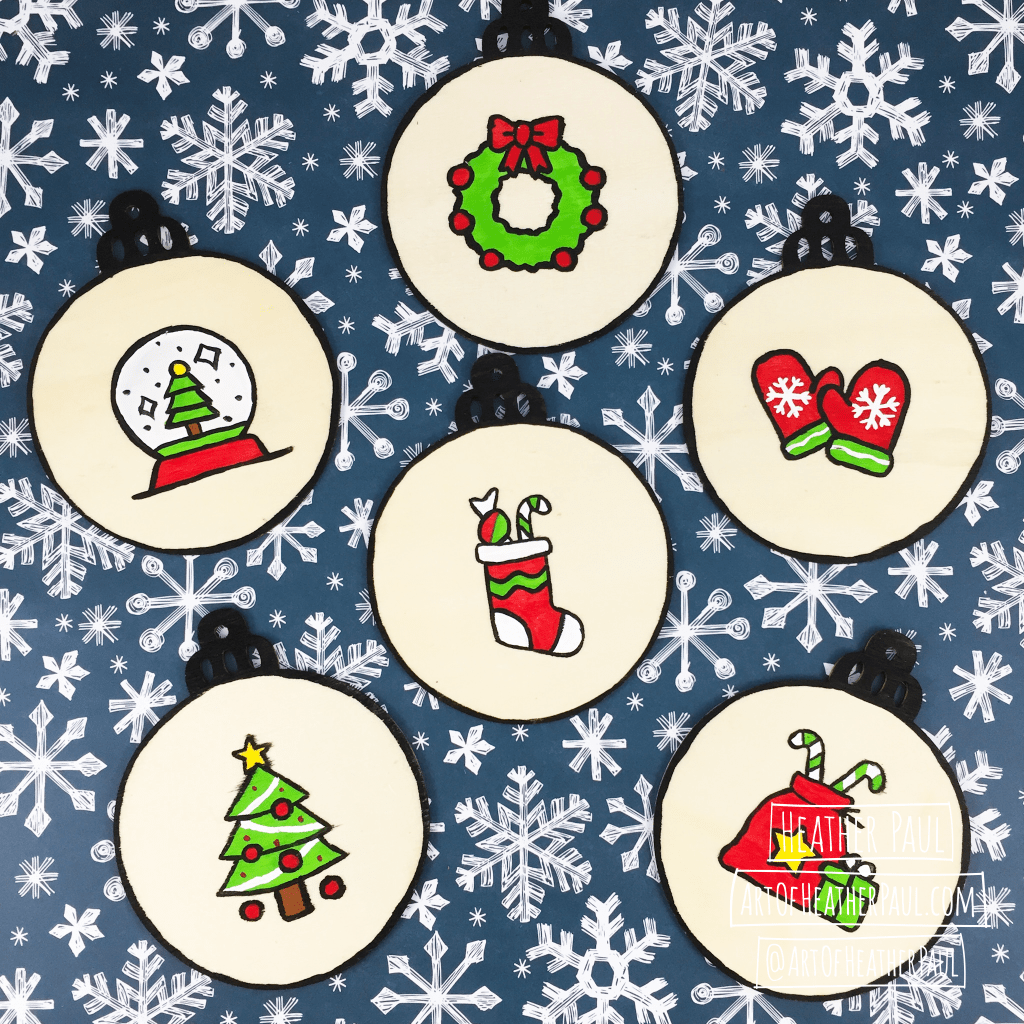
Below you’ll find photos of the kits, possible finished designs, and process photos to help guide you through painting your own ornaments.
Happy creating!
—Heather
PS: If you’re interested in purchasing a DIY Holiday Ornament Kit, please reach out to me here!

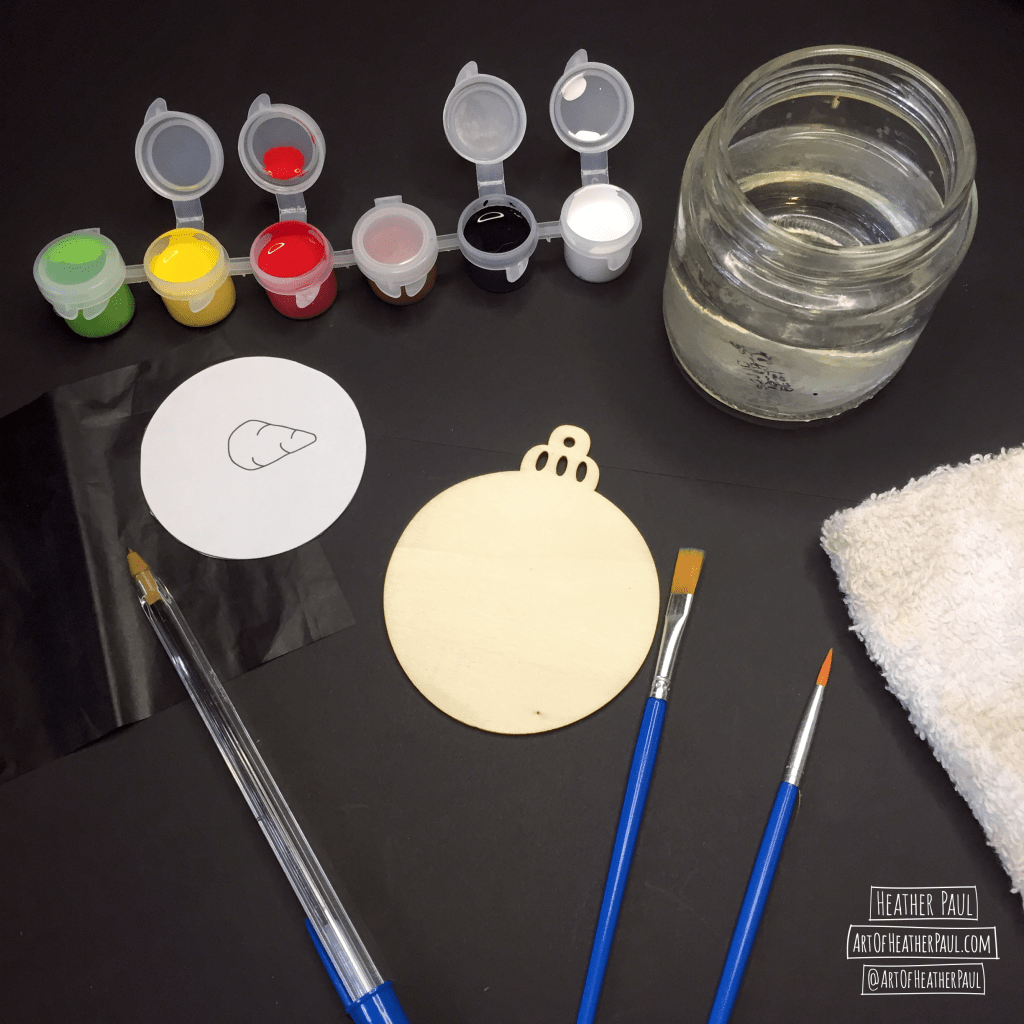
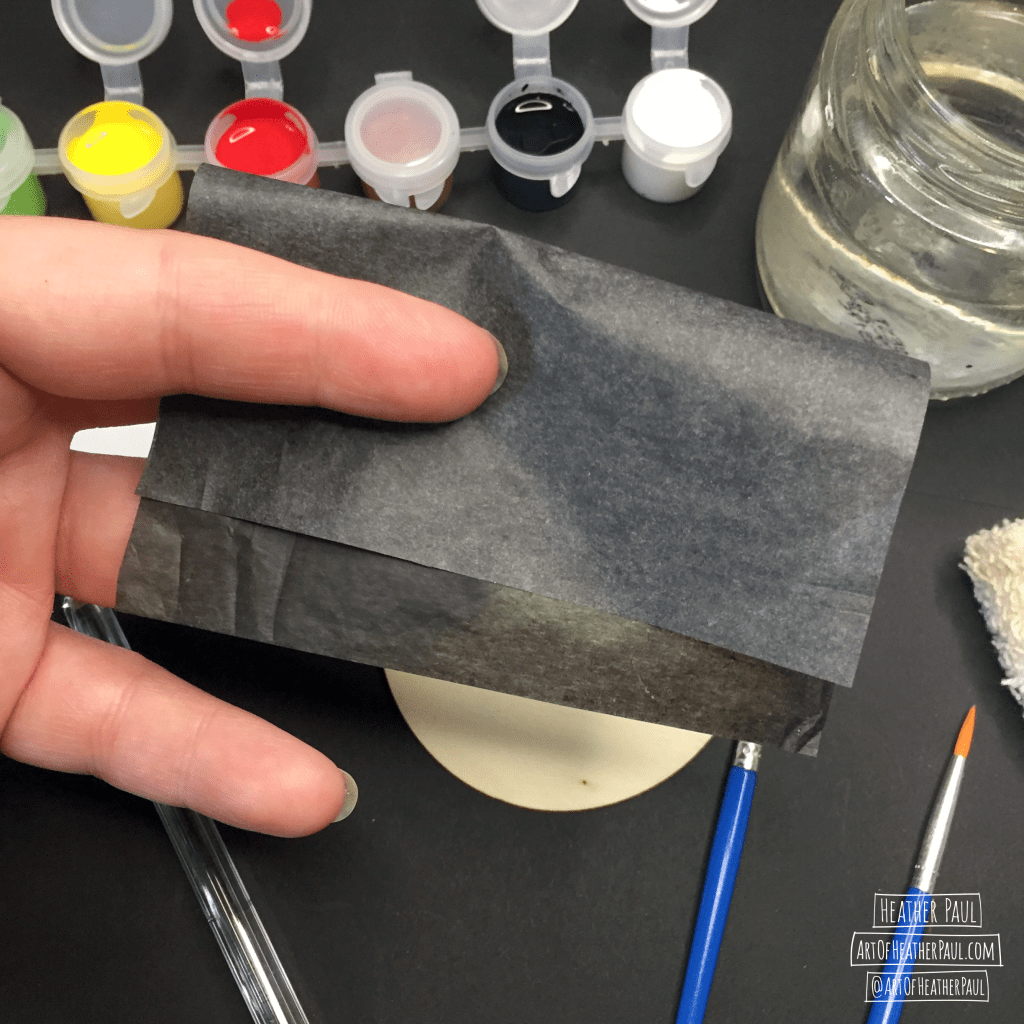
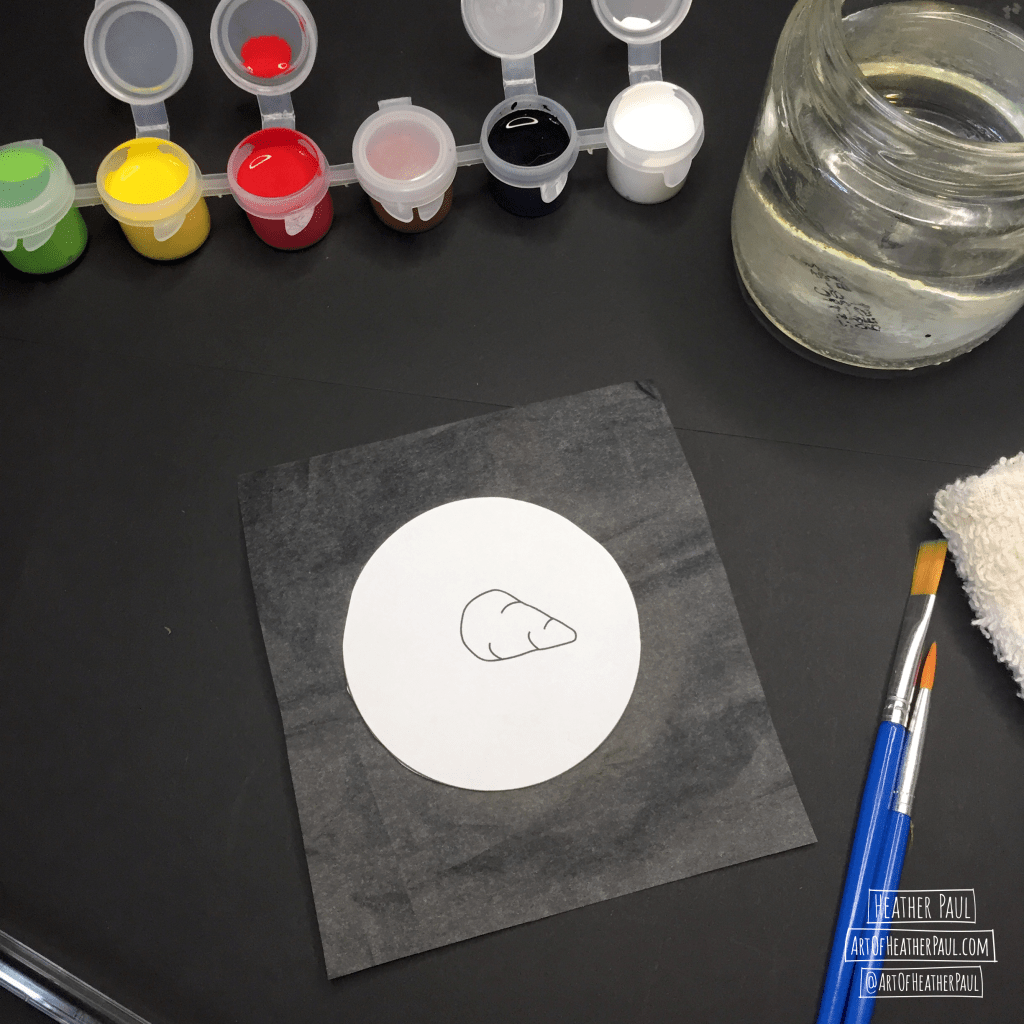
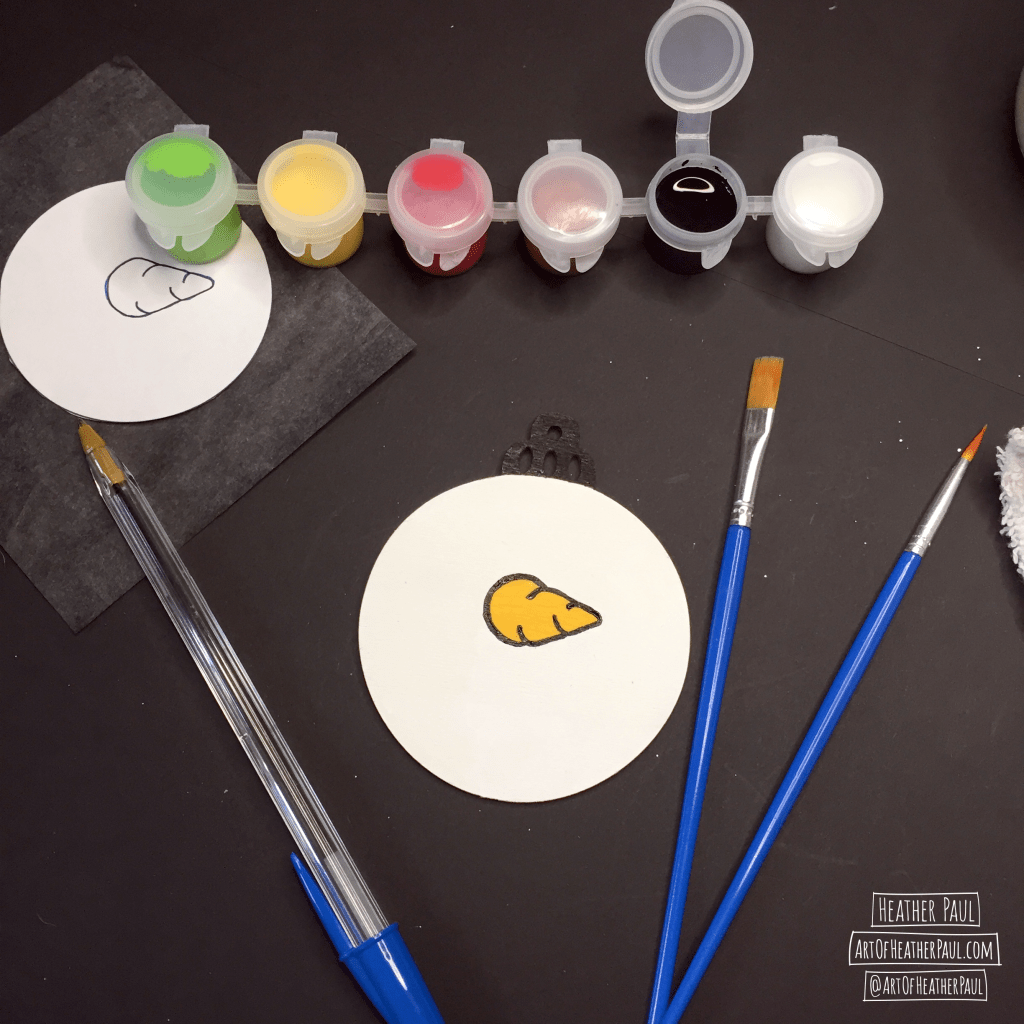
Start by gathering all the supplies you’ll need for the project. In addition to the kit, you will need a jar or cup of water to clean your brushes, a cloth/rag or some paper towels to dry your brushes in between uses, a small surface to mix paint on (an unmatched lid from the kitchen works great), and a pen or pencil for tracing your designs onto the ornaments. If you want very precise, crisp line work you can also use a fine point acrylic paint pen. You may also want to cover your work space with newspaper, parchment paper, or even plastic wrap. Begin by cutting the stencils into circles (this will make it easier to center the design onto the blank ornament). Then find the darker side of the carbon paper and make sure to place it dark side down when onto your blank ornament.
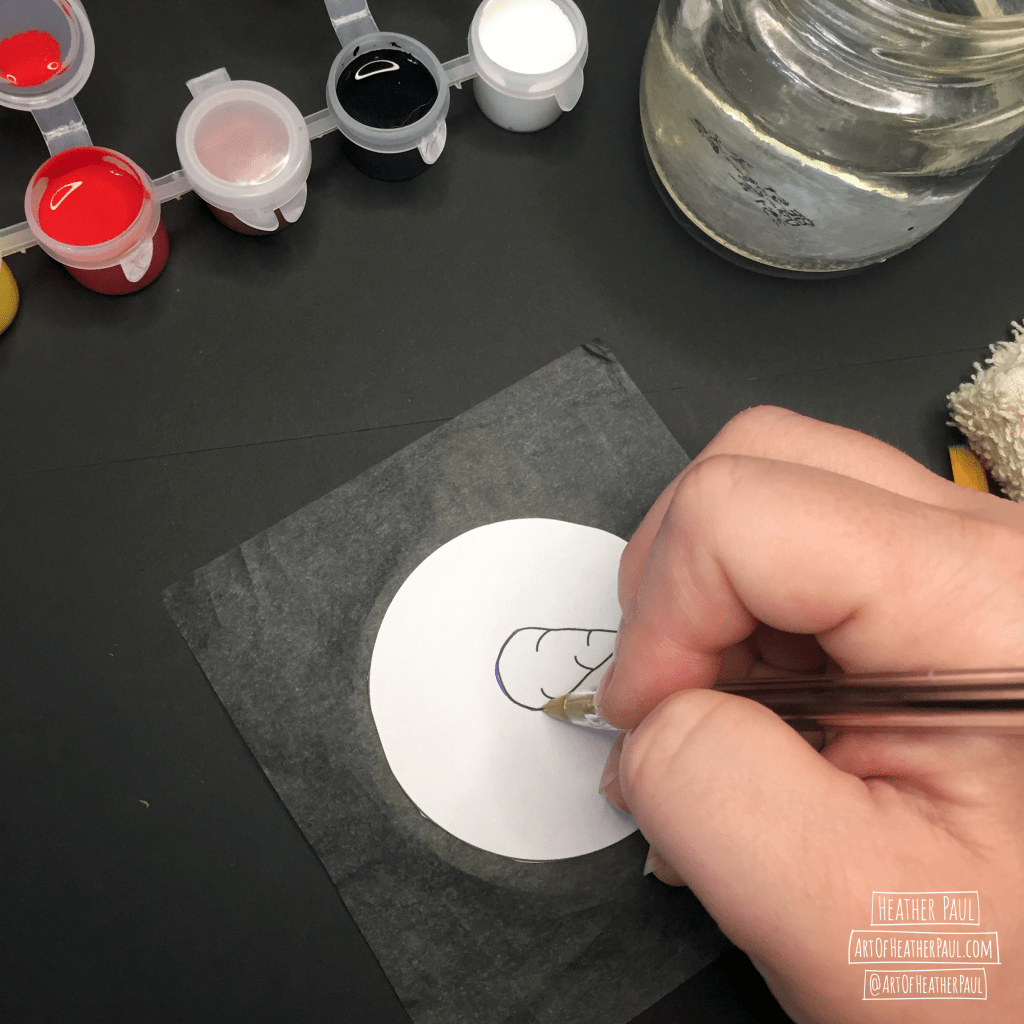
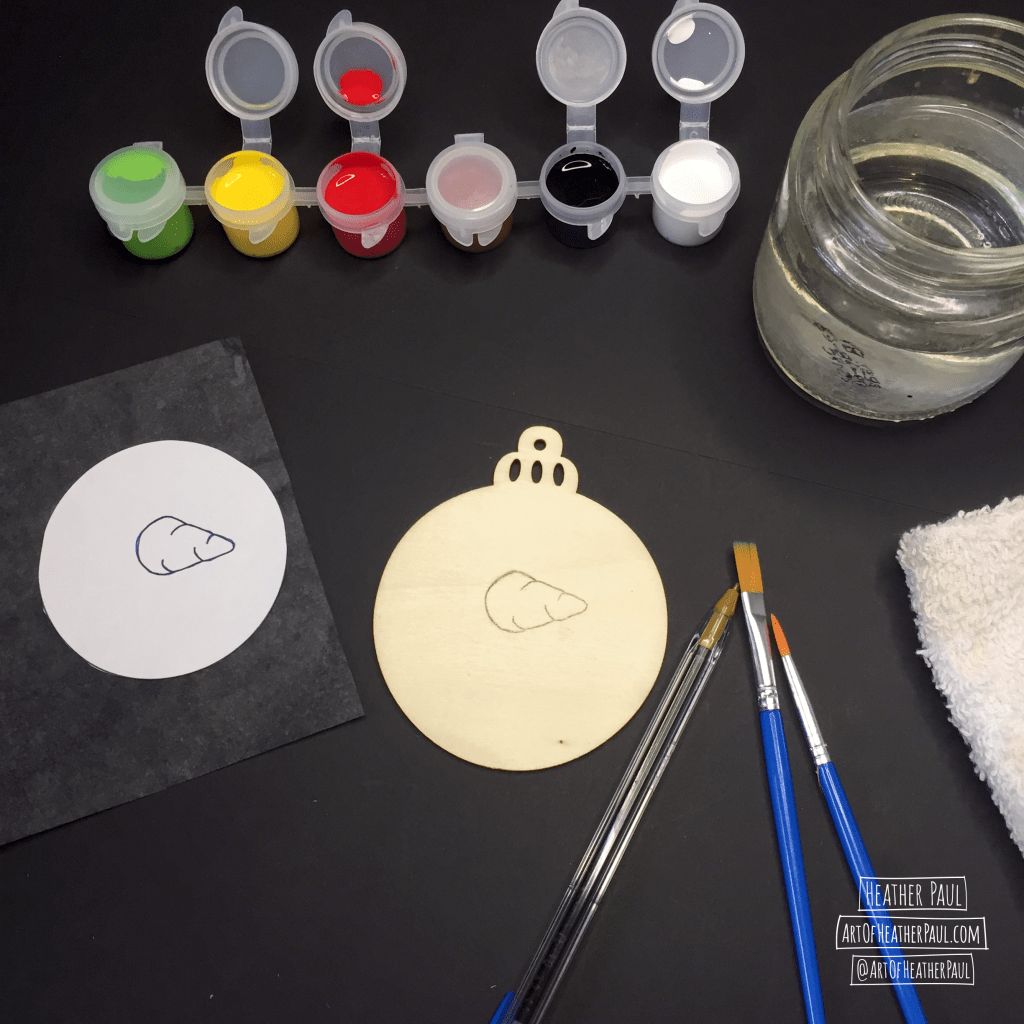
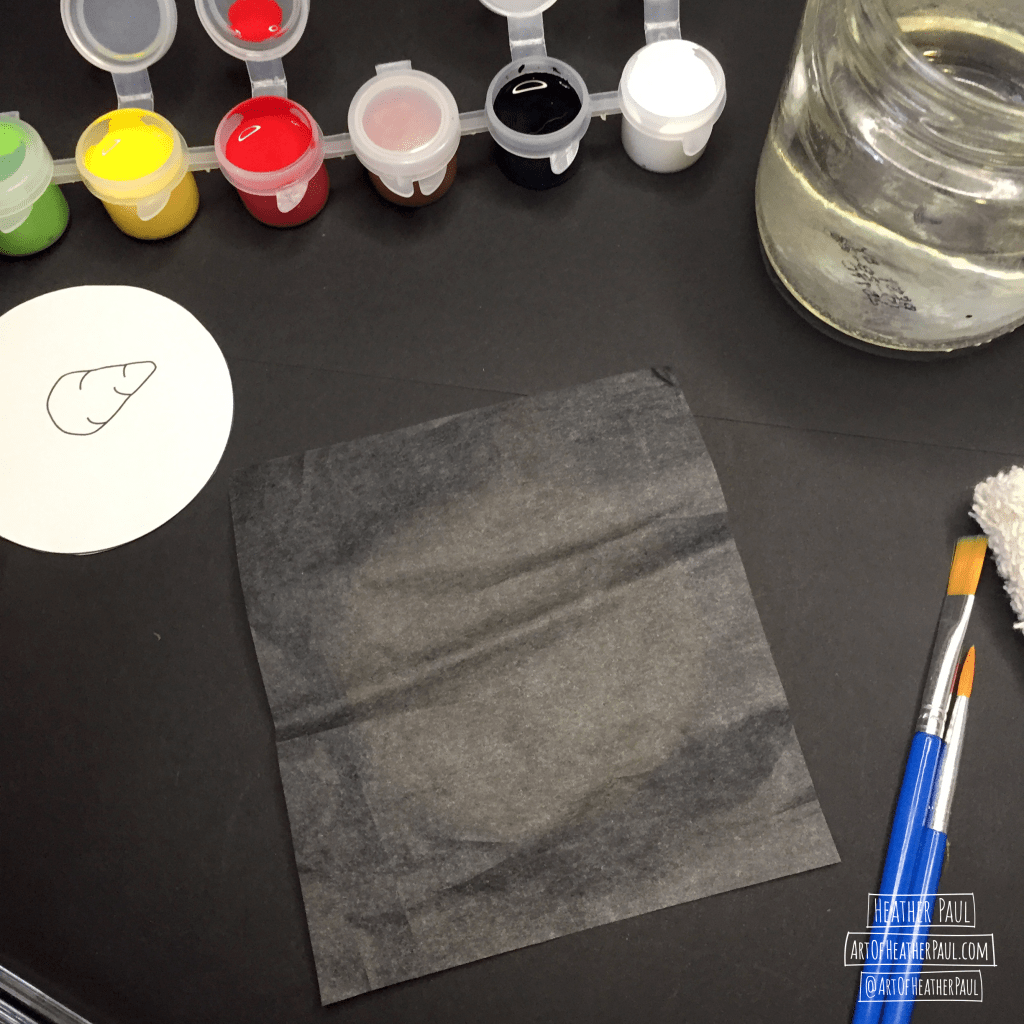
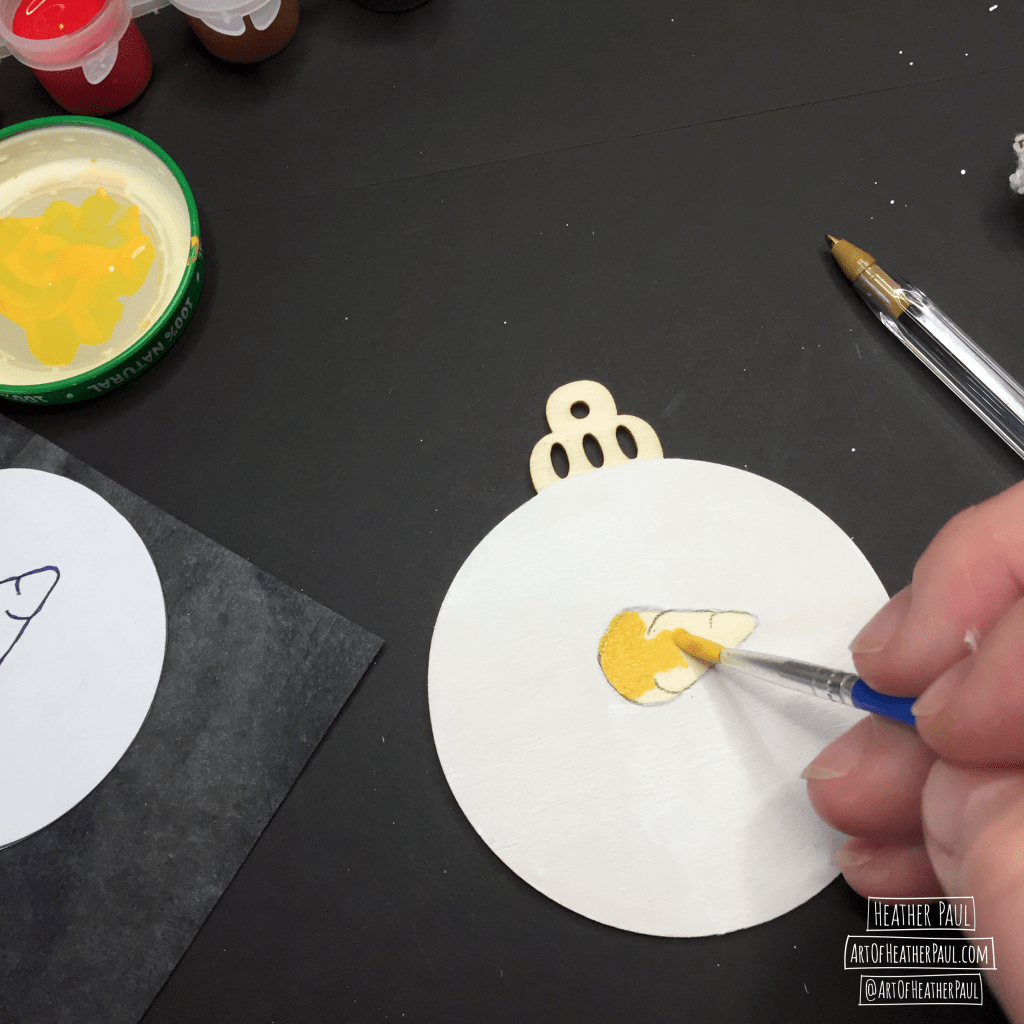
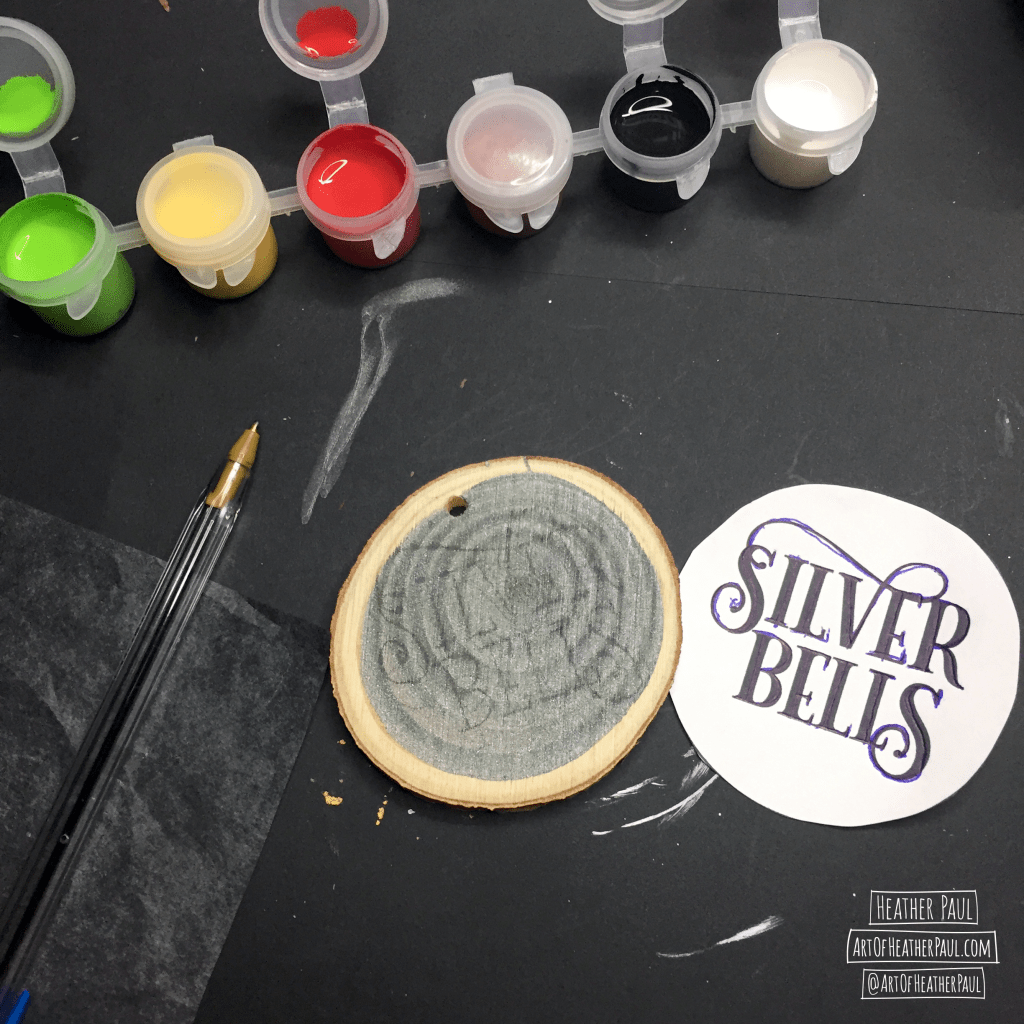
Layer the cut out stencil design on top of the carbon paper. Use a pen or pencil to trace the design being careful not to let the stencil shift during the process. Remove the stencil and carbon paper to reveal your design transferred to the ornament.
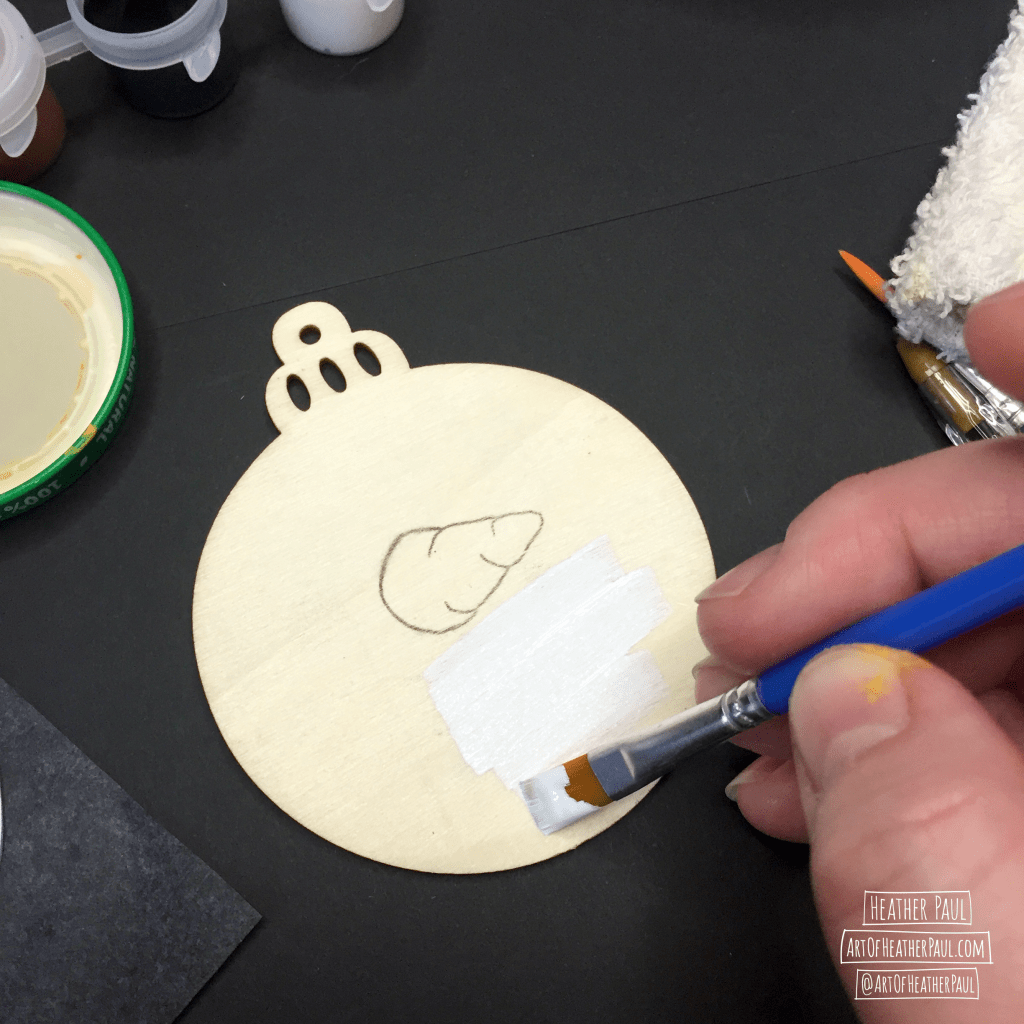
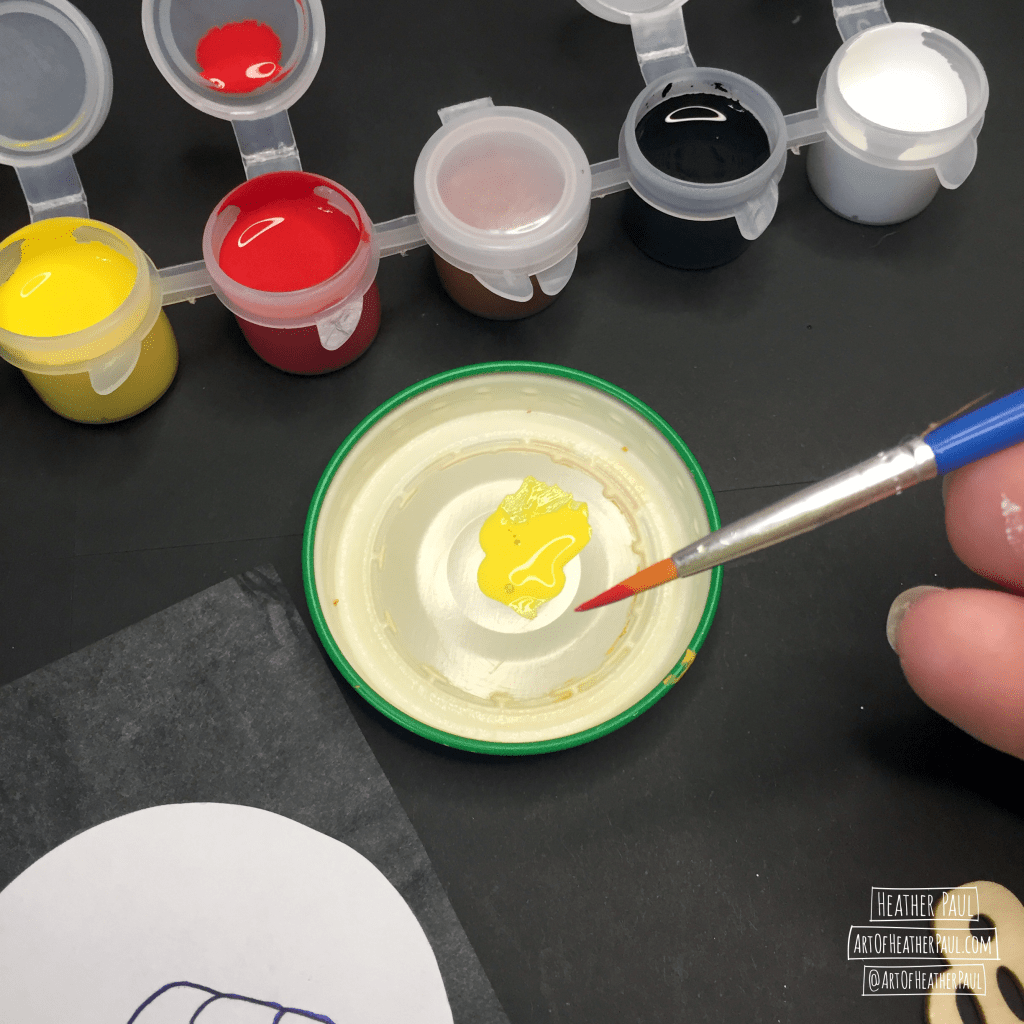
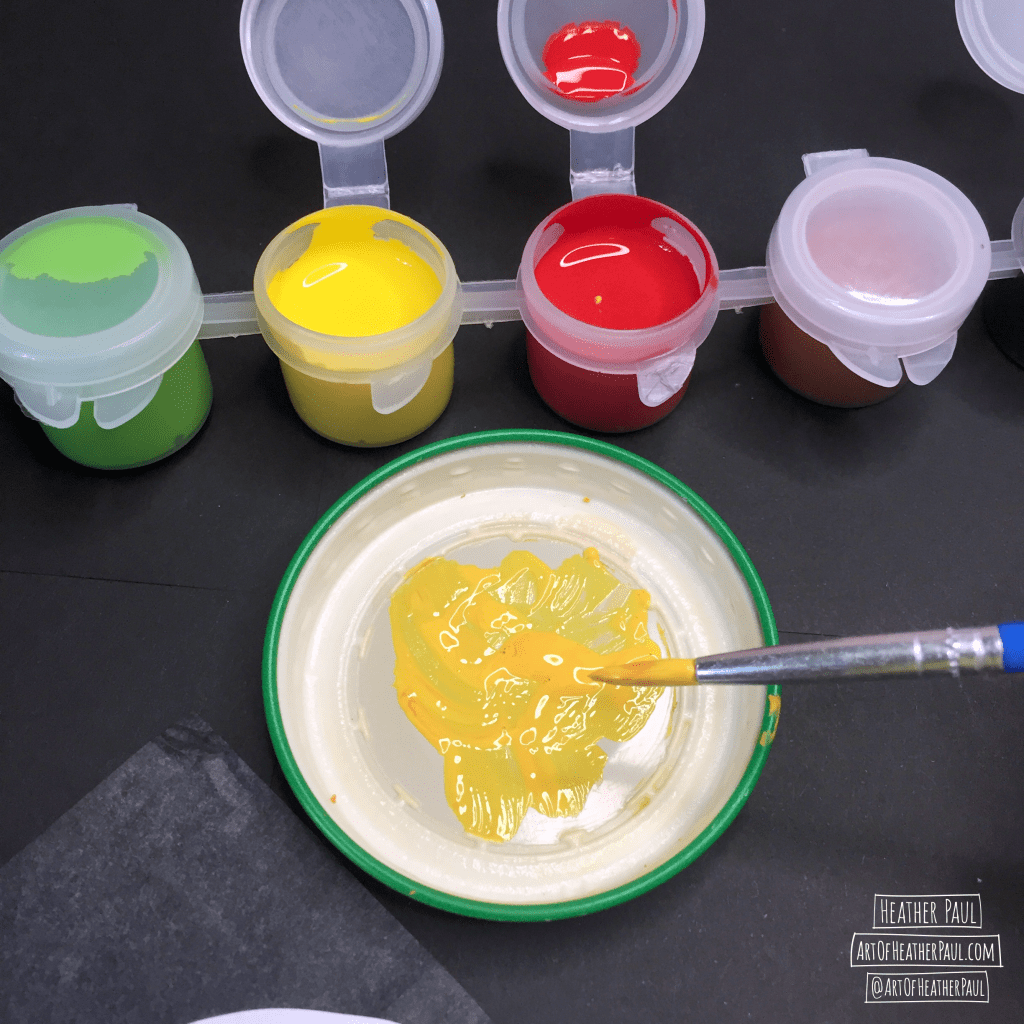
Begin painting your ornament. When mixing colors always start with the lighter color and mix in very small amounts of the darker color until you reach your desired tint. For this kit, you will need orange, so you will start with yellow and add in red. Yellow and blue will make green. Blue and red will make purple.
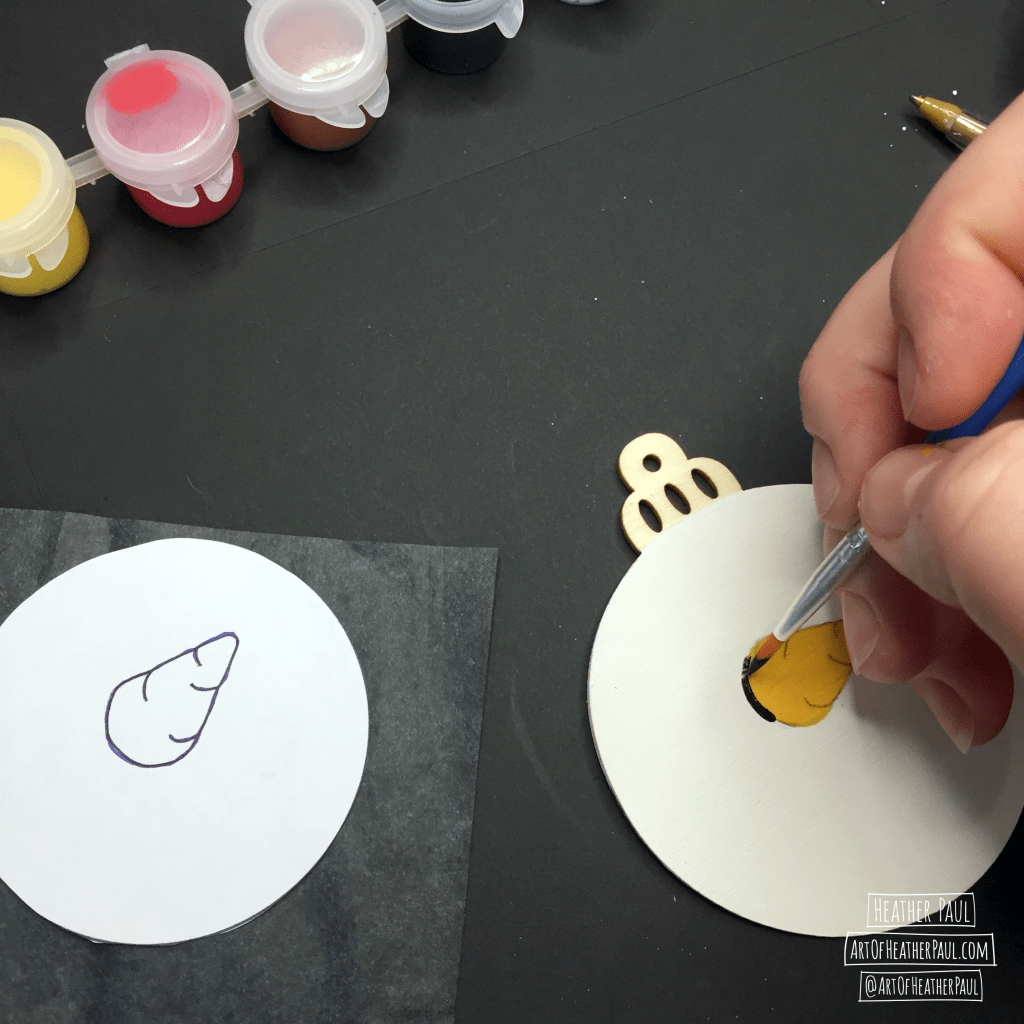
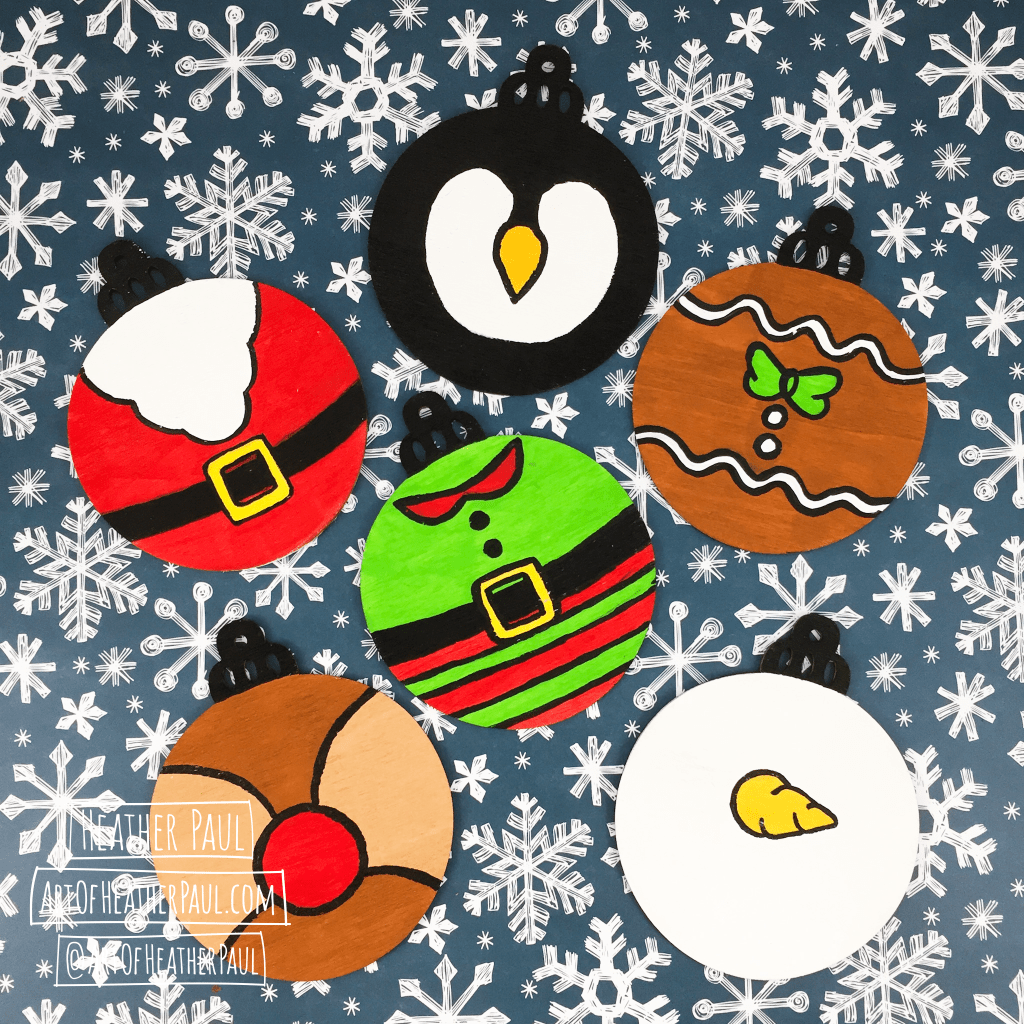
Finish painting and filling in your colors until your ornament is completed. For my examples, I went in and outlined everything in black to help make the colors pop, but your ornaments can be whatever you’d like them to be!

If you decide that you’d like your background a solid color, instead of painting around all the lines of the stencil design, you can paint the background first and then trace the design on with the carbon paper and stencil, and then paint the design as desired.
Subscribe for updates!
Follow me!
Copyright © Heather Paul 2018–2022
